
Getting Started - Create a Funnel Options
TABLE OF CONTENTS
Still have questions? Contact [email protected]
Create a Funnel Options
Every great journey starts with the first step, and in this case, it’s creating your funnel. Let's get started:
Go to Sites > Funnels.
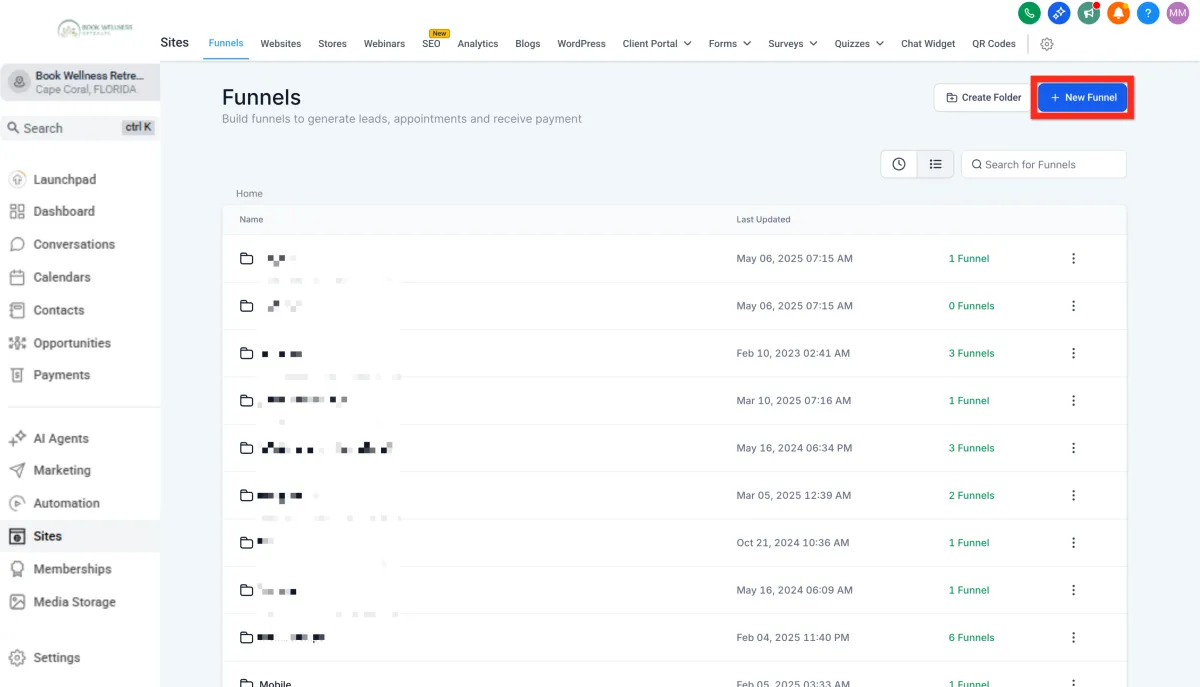
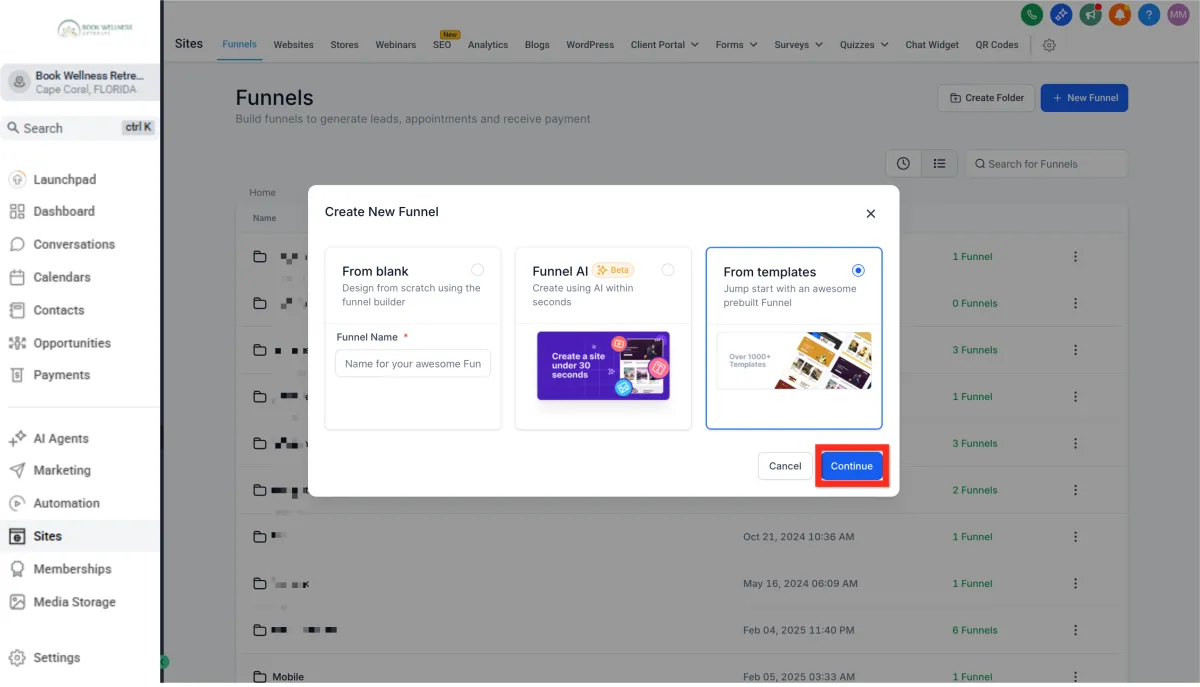
Click New Funnel, then select one of these options:
From Blank (build your own)
Funnel AI (AI-powered creation)
From Templates (use a pre-designed funnel)
Next, you can start customizing your template to make it uniquely yours!
Next, you can start customizing your template to make it uniquely yours!
Create a Funnel From Template
Save time and start strong! Templates provide a professional design that's proven to convert, allowing you to focus on fine-tuning rather than starting from scratch.
Navigate to Sites > Funnels
Click New Funnel > From Template > Continue
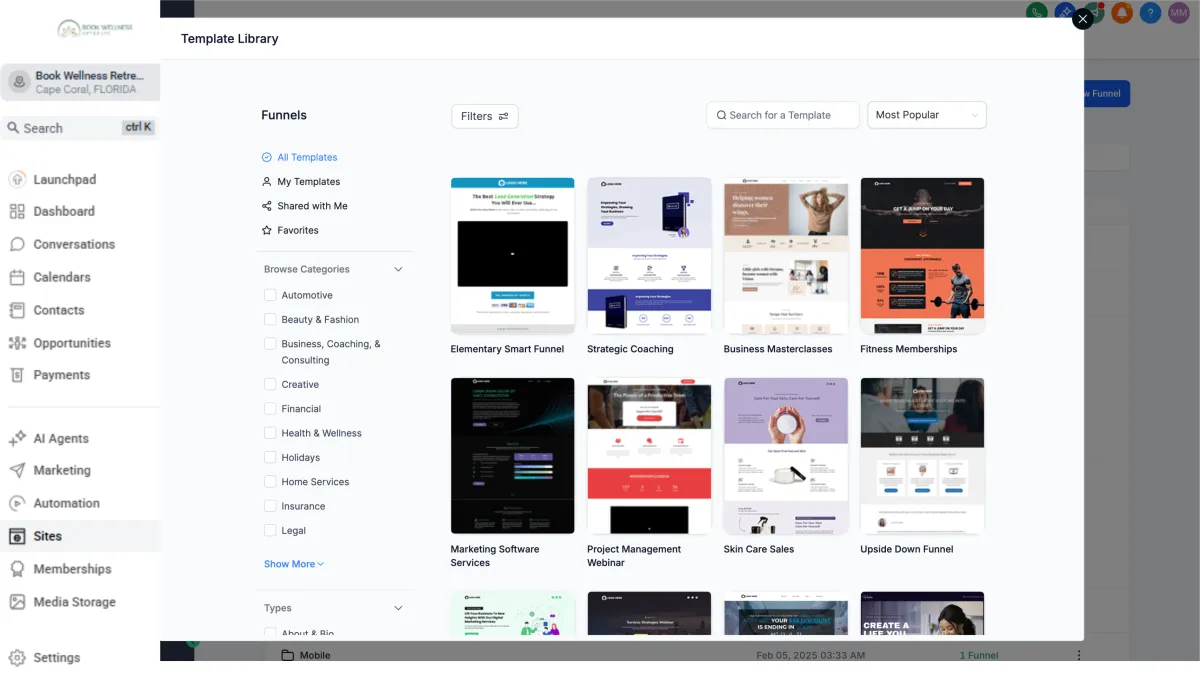
Open the Template Library.
Search, filter, and sort through the templates.
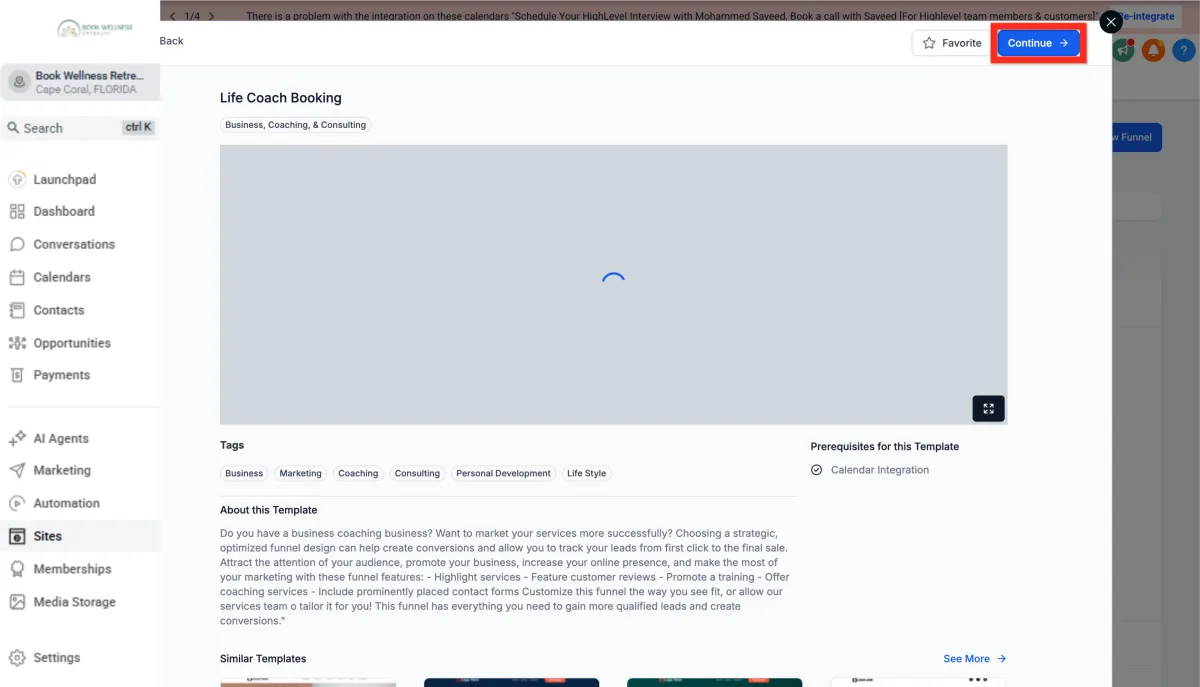
Preview your chosen funnel template.
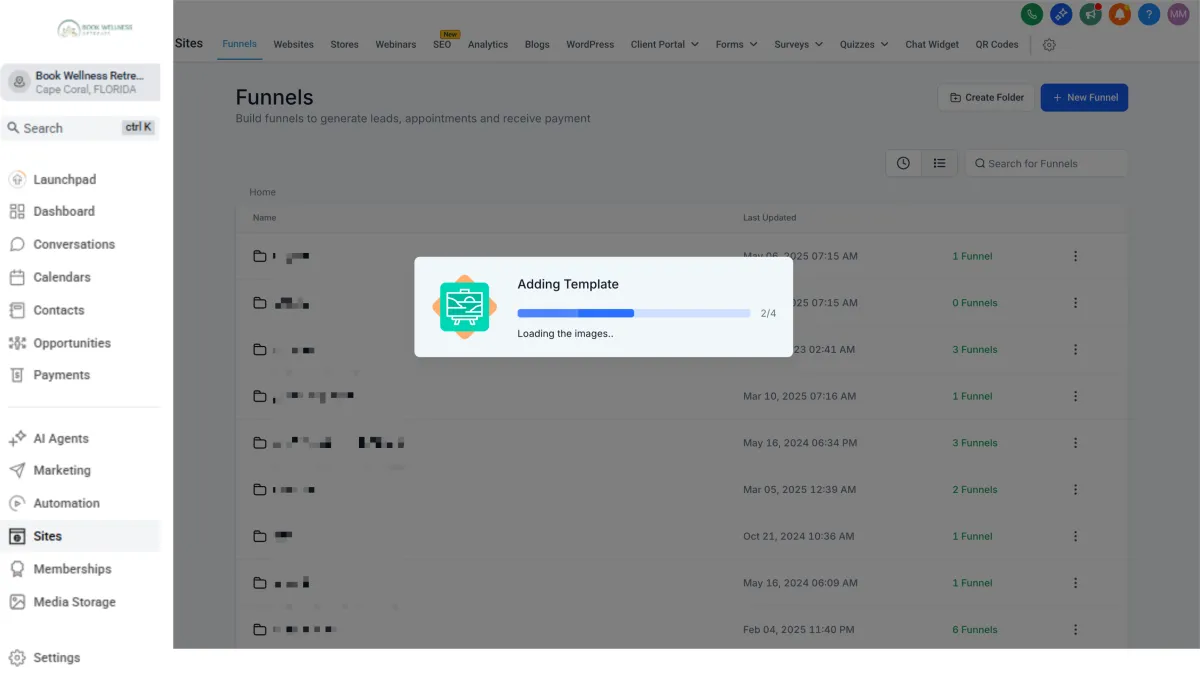
Click Continue.
Customize it in the Funnel Editor.
Click Save.
Next step: Take your funnel further—integrate a custom form to collect valuable visitor information.
Create a Form
Forms are the heart of lead generation. Design a form that's engaging and easy to fill out, capturing the right information effortlessly.
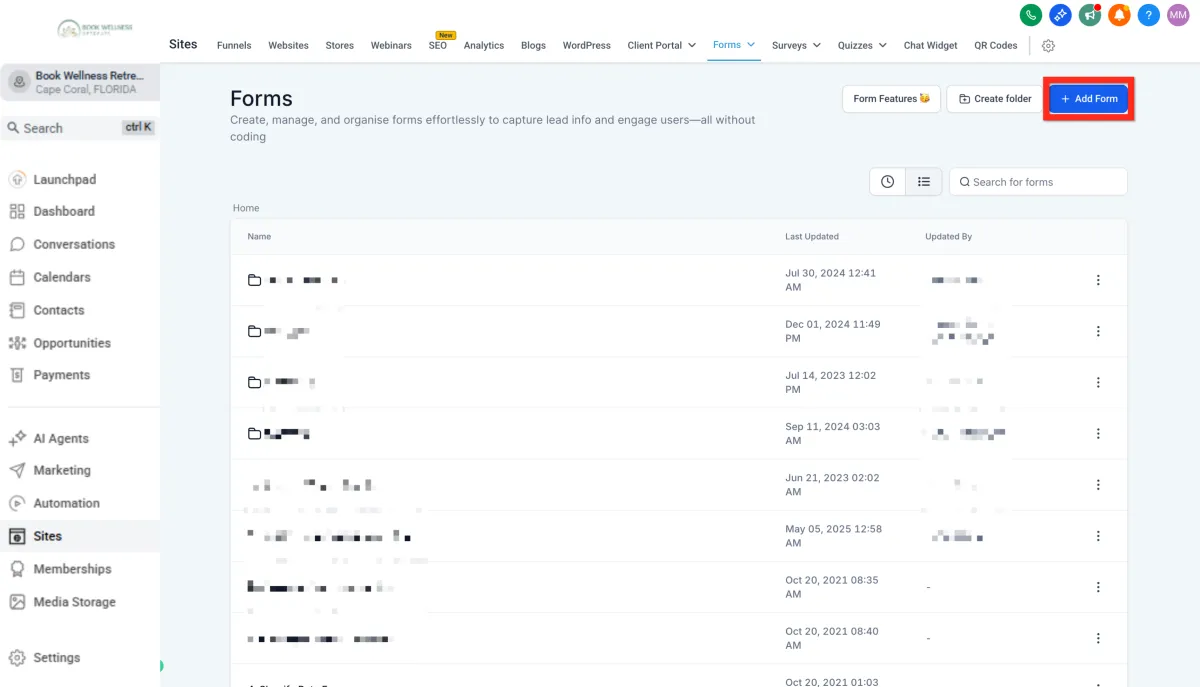
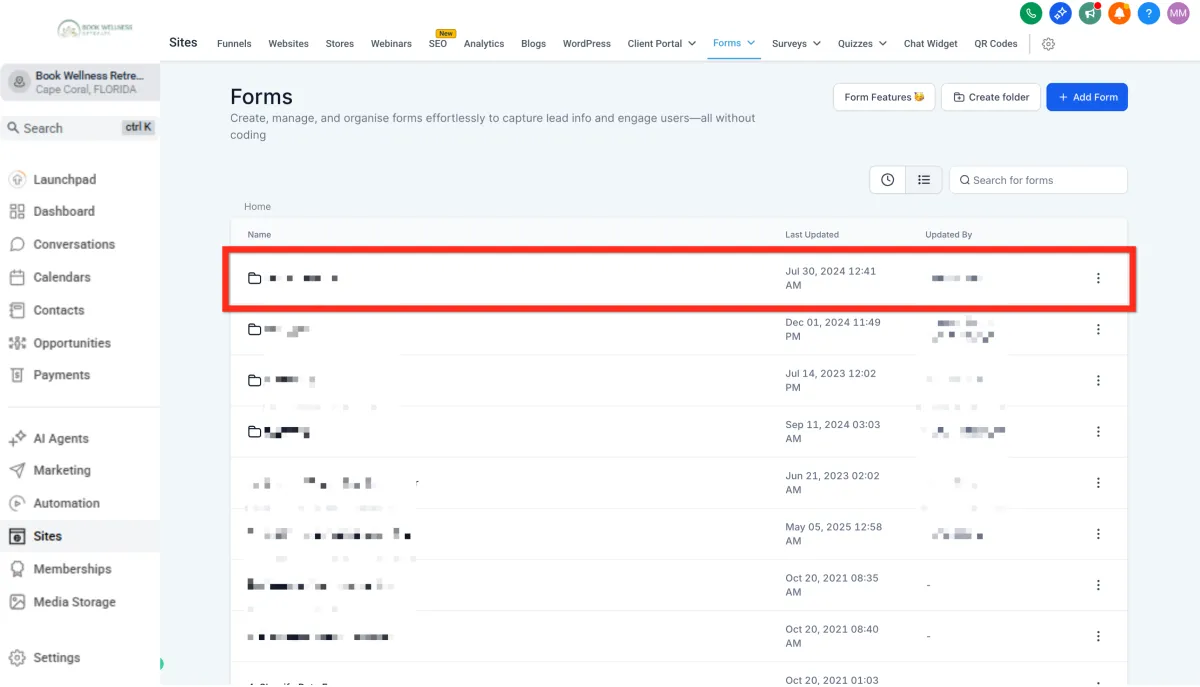
Navigate to the Form Builder (either through the Form Picker in the Funnel Editor or directly).
Click Add Form.
Customize fields and branding using the Form Editor.
Click Save.
Next step: Optimize your form further with automations to follow up instantly!
Edit an Existing Funnel
Keep your funnels fresh and relevant. Easily update existing funnels to respond quickly to market changes or new strategies.
Navigate to Sites > Funnels.
Select and click your funnel from the Funnel List.
Make your edits in the Funnel Editor.
Click Save.
Next step: Why not check analytics to see how well your updates are performing?
Add a Domain to a Funnel
Your funnel deserves a memorable domain. Connect your funnel to your own domain to enhance credibility and professionalism.
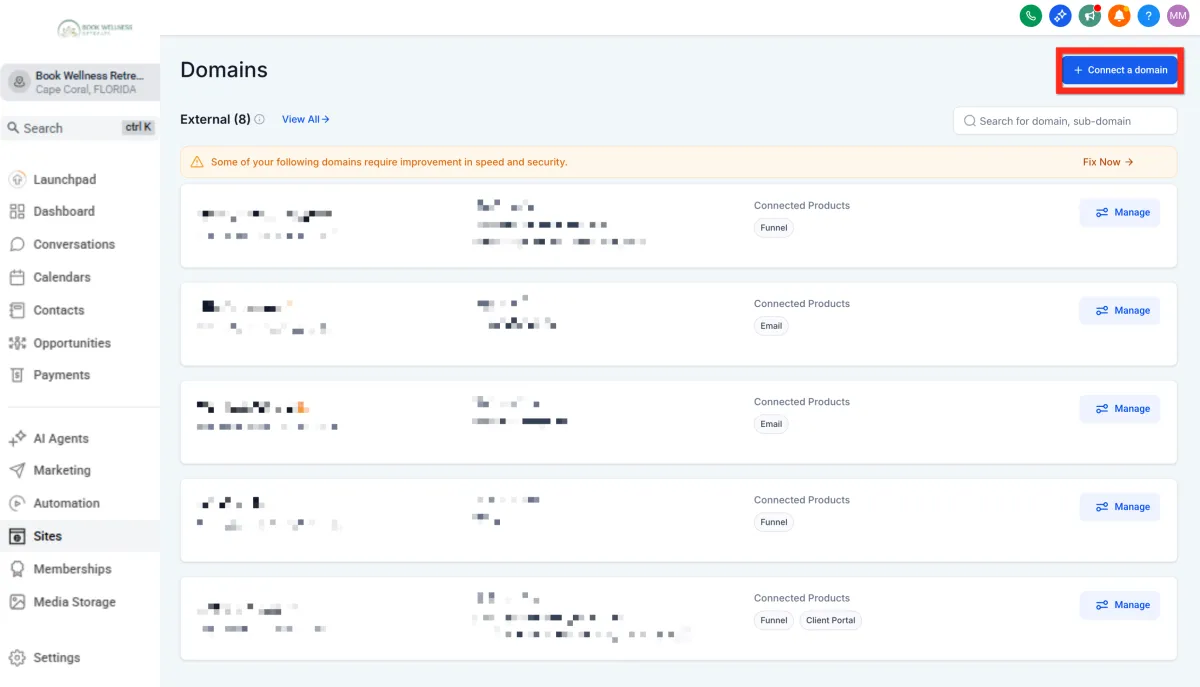
Go to Settings > Domains.
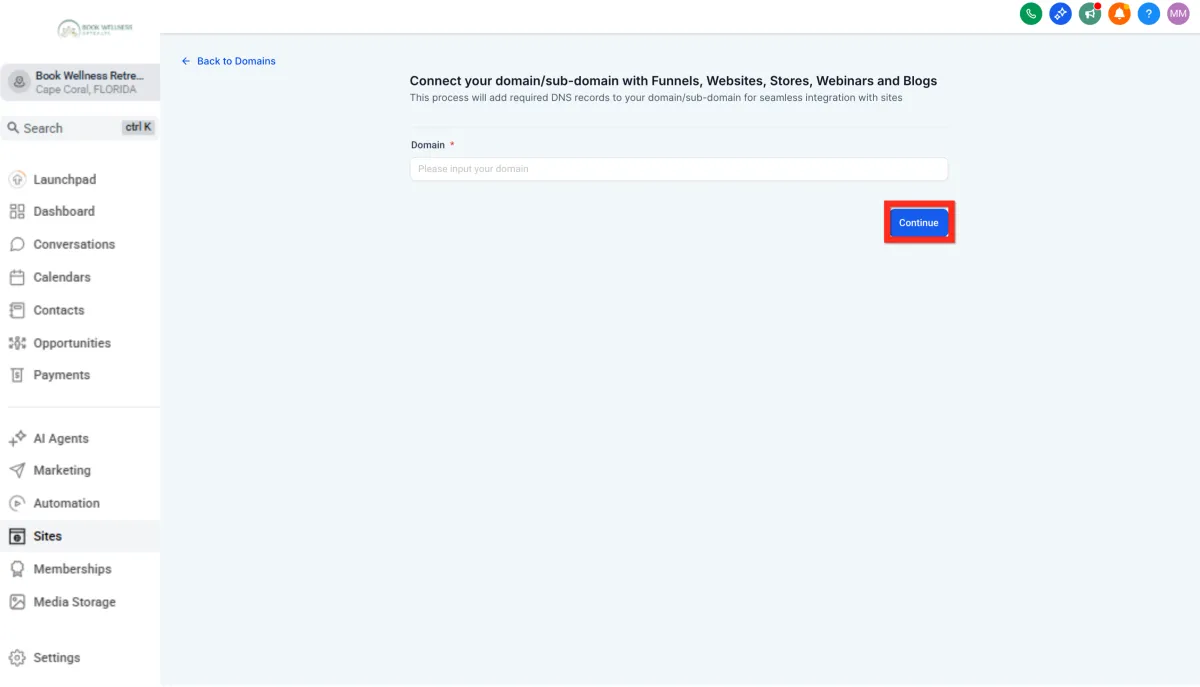
Click Connect a Domain.
Enter your domain and click Continue.
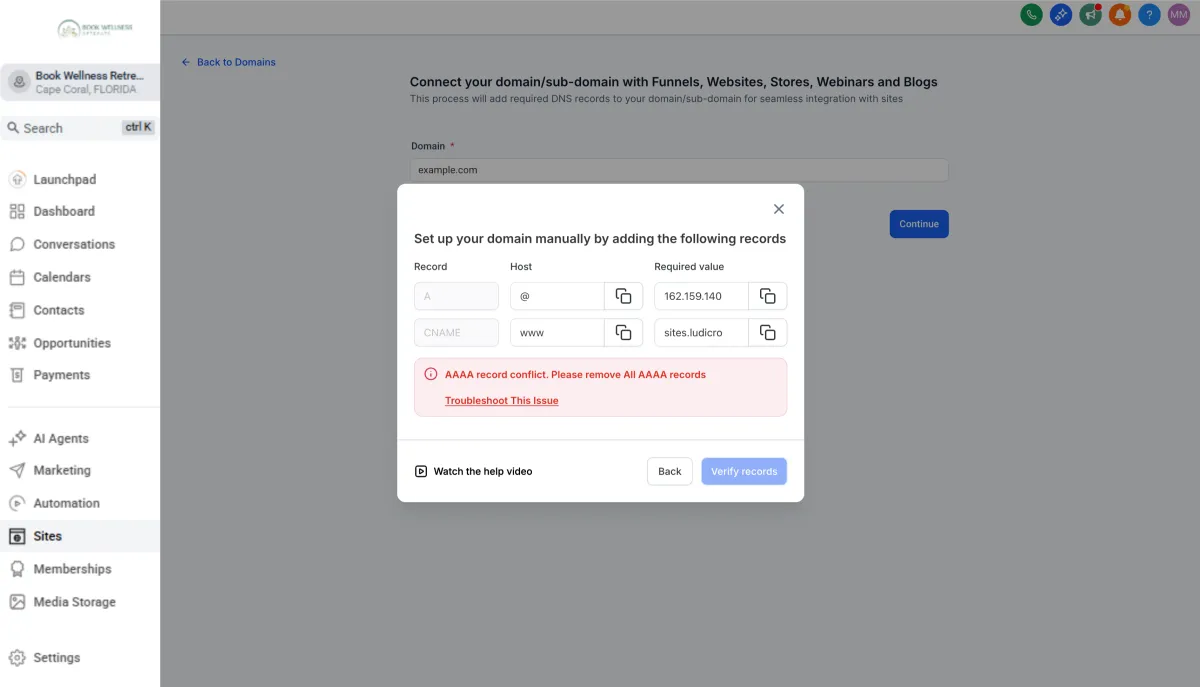
Follow the instructions provided to set up DNS records (varies by registrar).
Click Verify Records.
Link your domain with the funnel.
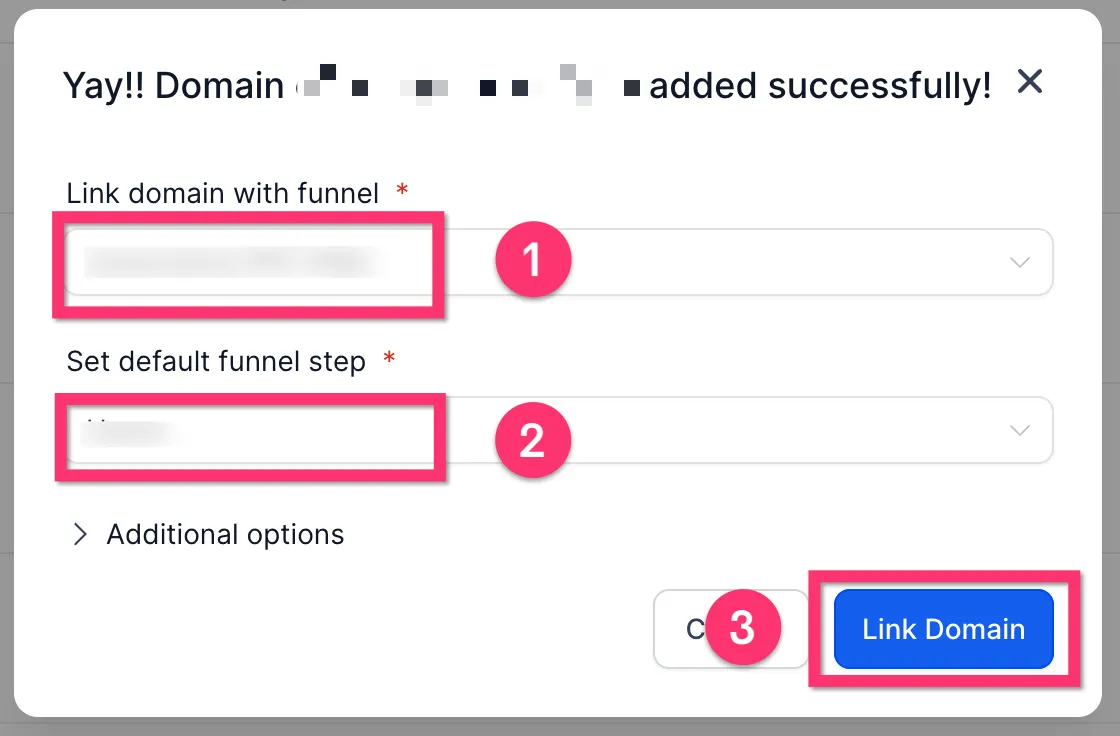
Click Proceed to Finish.
Next step: You're ready to launch! Share your funnel and watch your leads flow in!
Getting Started - Create a Funnel Options
TABLE OF CONTENTS
Still have questions? Contact [email protected]
Create a Funnel Options
Every great journey starts with the first step, and in this case, it’s creating your funnel. Let's get started:
Go to Sites > Funnels.
Click New Funnel, then select one of these options:
From Blank (build your own)
Funnel AI (AI-powered creation)
From Templates (use a pre-designed funnel)
Next, you can start customizing your template to make it uniquely yours!
Next, you can start customizing your template to make it uniquely yours!
Create a Funnel From Template
Save time and start strong! Templates provide a professional design that's proven to convert, allowing you to focus on fine-tuning rather than starting from scratch.
Navigate to Sites > Funnels
Click New Funnel > From Template > Continue
Open the Template Library.
Search, filter, and sort through the templates.
Preview your chosen funnel template.
Click Continue.
Customize it in the Funnel Editor.
Click Save.
Next step: Take your funnel further—integrate a custom form to collect valuable visitor information.
Create a Form
Forms are the heart of lead generation. Design a form that's engaging and easy to fill out, capturing the right information effortlessly.
Navigate to the Form Builder (either through the Form Picker in the Funnel Editor or directly).
Click Add Form.
Customize fields and branding using the Form Editor.
Click Save.
Next step: Optimize your form further with automations to follow up instantly!
Edit an Existing Funnel
Keep your funnels fresh and relevant. Easily update existing funnels to respond quickly to market changes or new strategies.
Navigate to Sites > Funnels.
Select and click your funnel from the Funnel List.
Make your edits in the Funnel Editor.
Click Save.
Next step: Why not check analytics to see how well your updates are performing?
Add a Domain to a Funnel
Your funnel deserves a memorable domain. Connect your funnel to your own domain to enhance credibility and professionalism.
Go to Settings > Domains.
Click Connect a Domain.
Enter your domain and click Continue.
Follow the instructions provided to set up DNS records (varies by registrar).
Click Verify Records.
Link your domain with the funnel.
Click Proceed to Finish.
Next step: You're ready to launch! Share your funnel and watch your leads flow in!
Ready to Transform Your Wellness Business?
Join hundreds of wellness leaders who are nurturing their retreat businesses with our gentle yet powerful platform

The complete platform for wellness entrepreneurs to design, grow, and run their business with purpose.
Platform
Marketing Services
Support
Copyright © 2025. Book Wellness Retreats LLC, All rights reserved
Ready to Transform Your Wellness Business?
Join hundreds of wellness leaders who are nurturing their retreat businesses with our gentle yet powerful platform
The complete platform for wellness entrepreneurs to design, grow, and run their business with purpose.
Platform
Marketing Services
Support
Copyright © 2025. Book Wellness Retreats LLC, All rights reserved